Zapier is an all-one-space to automate your opportunities, Contacts, possibilities, sales outreach, etc. That means Zapier is an online platform that automates all your workflows by connecting various apps and services. There are around 5,000+ apps and services available in Zapier. These will help you to make your work and life simpler and more manageable. We can call “Zapier a bridge” where it can connect two ends of an app.
What is GetResponse?
GetResponse is an all-in-one email marketing platform where you can send stunning emails to your customers. Using GetResponse, you can grow your audience, through Email Marketing, Landing pages, Website Builders, Webinars, and Marketing automation. It also has so many features such as Autoresponders, Email Analytics, Transactional emails, etc. It has advanced marketing automation. We can call GetResponse an Omni channel marketing tool. Because it has also SMS marketing.
GetResponse Integration
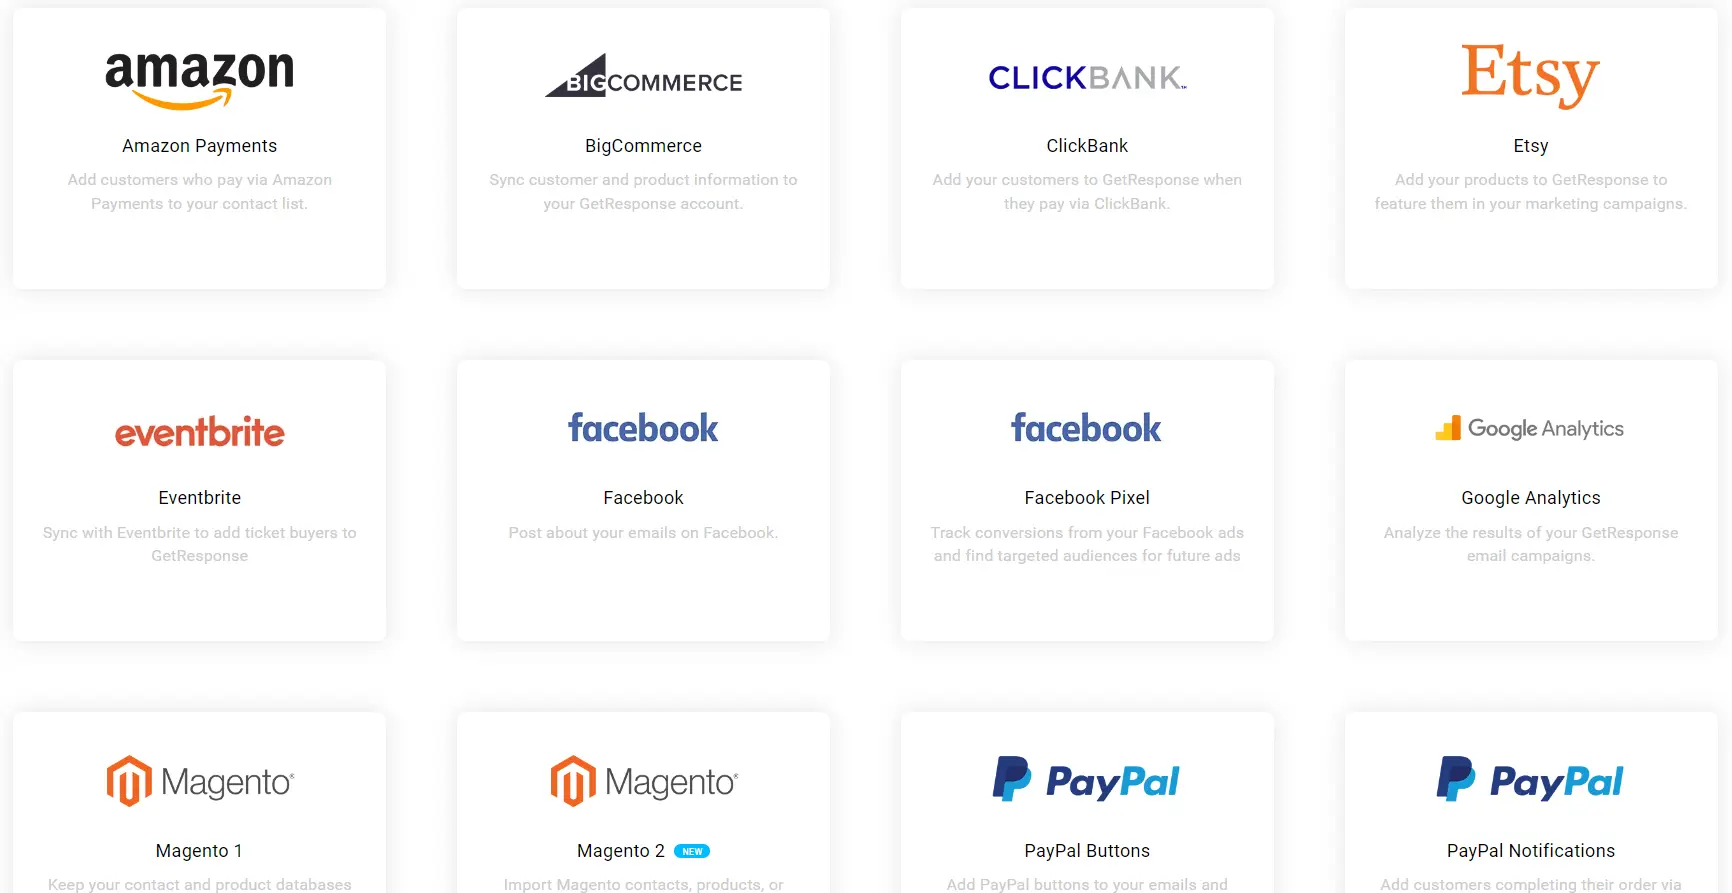
GetResponse has around 350+ integrations. You can integrate so many important apps like Amazon, BigCommerce, Etsy, Shopify, ClickBank, Facebook, Google Analytics, Paypal, etc. GetResponse also integrates with Zapier and using Zapier, you can connect up to 4000 apps.
GetResponse – Zapier Integration
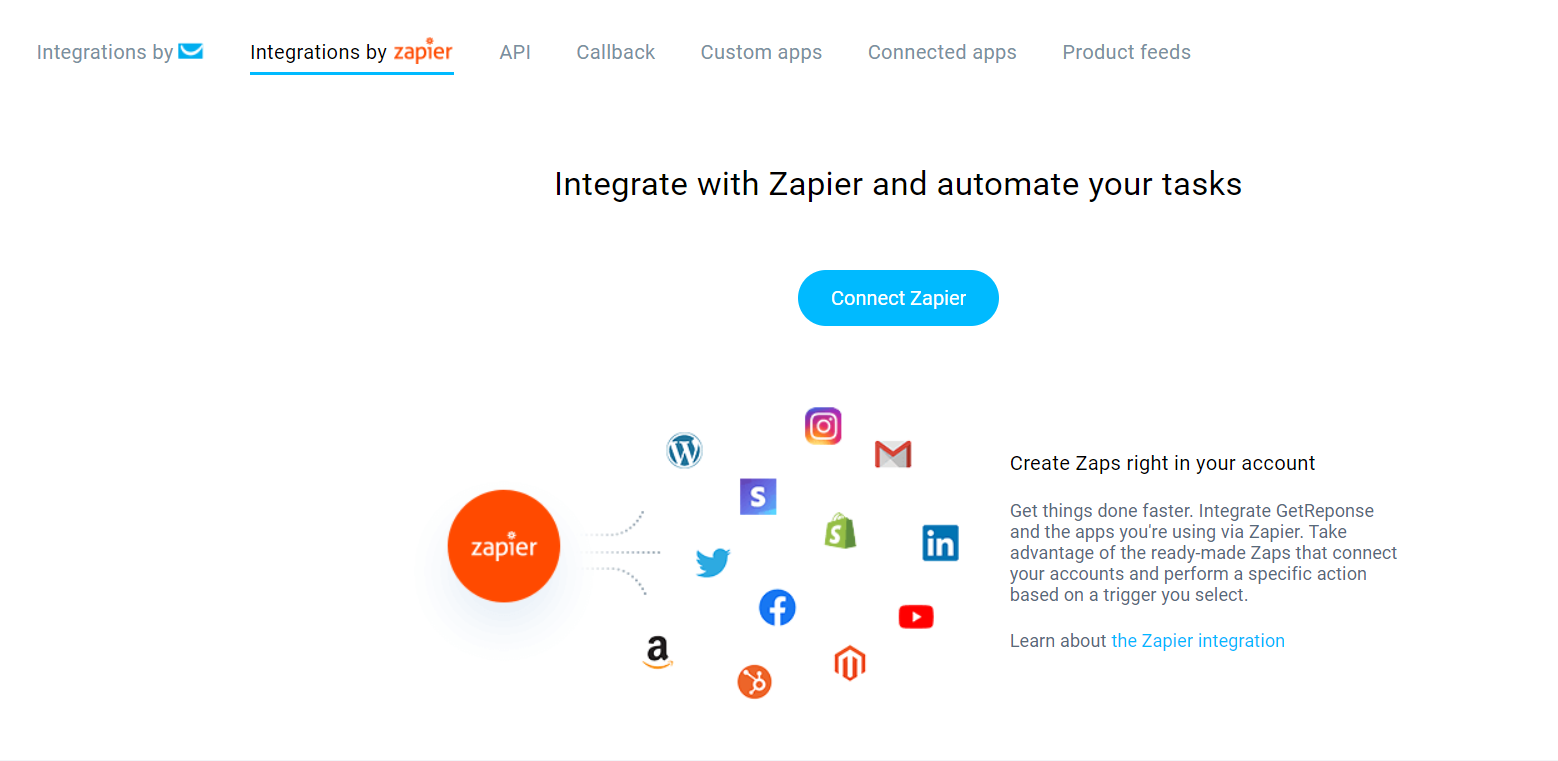
As I mentioned, there are 5,000+ apps and services available in Zapier. Here I am showing how to integrate Zapier with the GetResponse email Marketing tool. For connecting to Zapier, you have to go to Tools -> Integrations & API. The first tab shows the GetResponse integration. The second tab is “Integrations by Zapier”. It is a separate tab for Zapier integrations. From there, you can see the connect option.
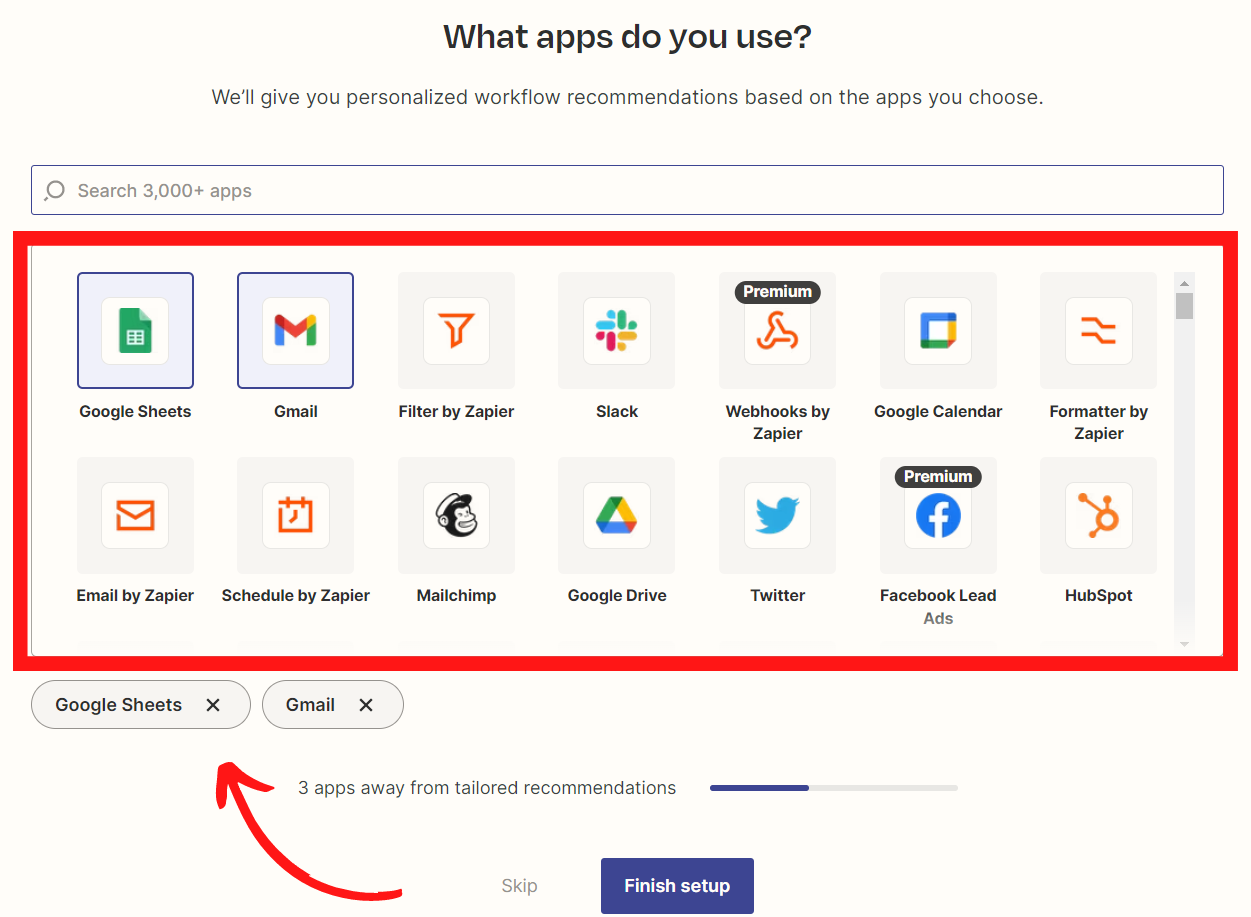
After you click the connect button, you have to log in to the Zapier account. If you don’t have a Zapier account, then you can create it from there itself. They will ask questions like your role and company employees count. Then there will appear a bundle of apps. From there you can choose up to 5 apps. Based on the app you choose, they will give you personalized workflow recommendations.
There are free apps and also premium apps are there. Some free apps include Google sheets, Gmail, Stack, MailChimp, Twitter, HubSpot, Discord, Airtable, etc. Premium apps include Webhooks, Facebook Lead, Shopify, Salesforce, etc.
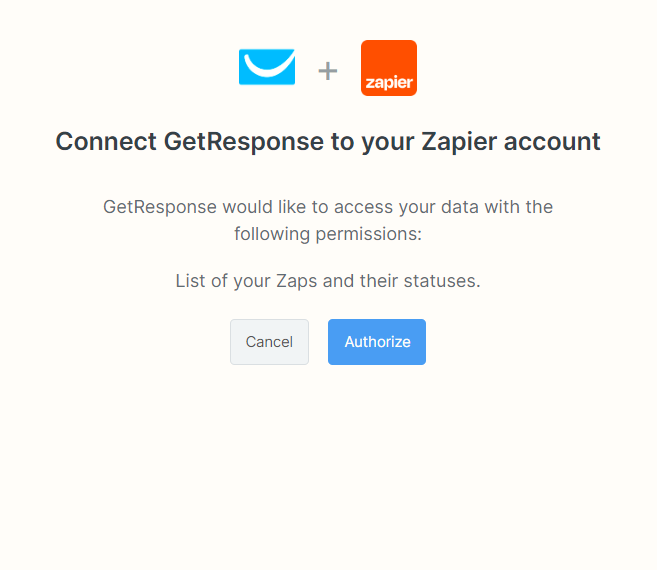
After you finish the setup, the next step is, you have to connect GetResponse to your Zapier account. For that, you have to click “Authorize”. Now your GetResponse is connected with Zapier. If you were connecting GetResponse from the Zapier account, then, you have to provide the GetResponse API key.
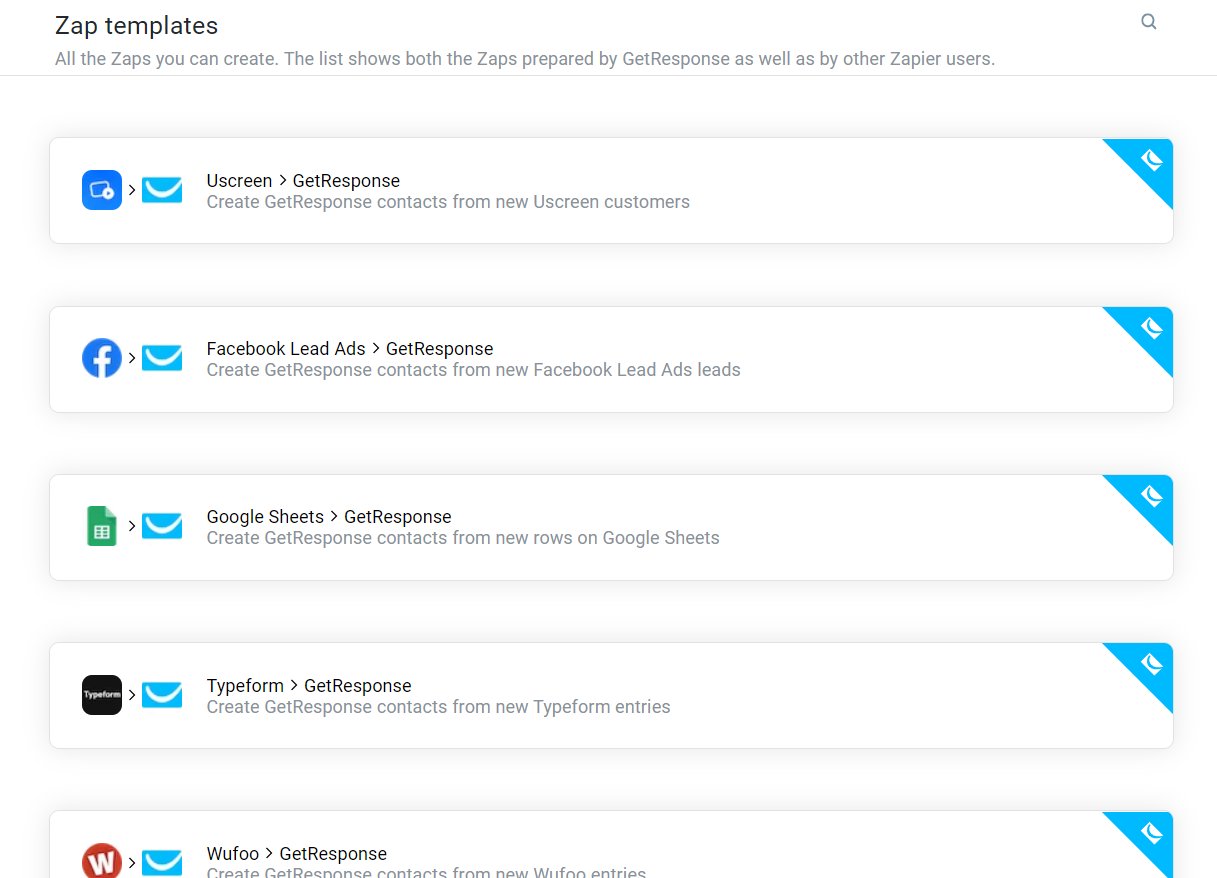
Now your GetResponse and Zapier accounts are connected. Now you can see they are providing so many templates like Unscreen > GetResponse, Facebook Lead Ads > GetResponse, Google Sheets > GetResponse, etc. There are around 200 templates available in Zapier. Zapier Apps are called “Zap”. So we call these templates “Zap Templates”.
Now you can choose a template and start working on that template by hovering over the template and clicking the Configure button. If you couldn’t find any template, you can also search the template by searching the app name.
Here I am going to show two examples of Connecting apps to GetResponse through Zapier.
#Example 1
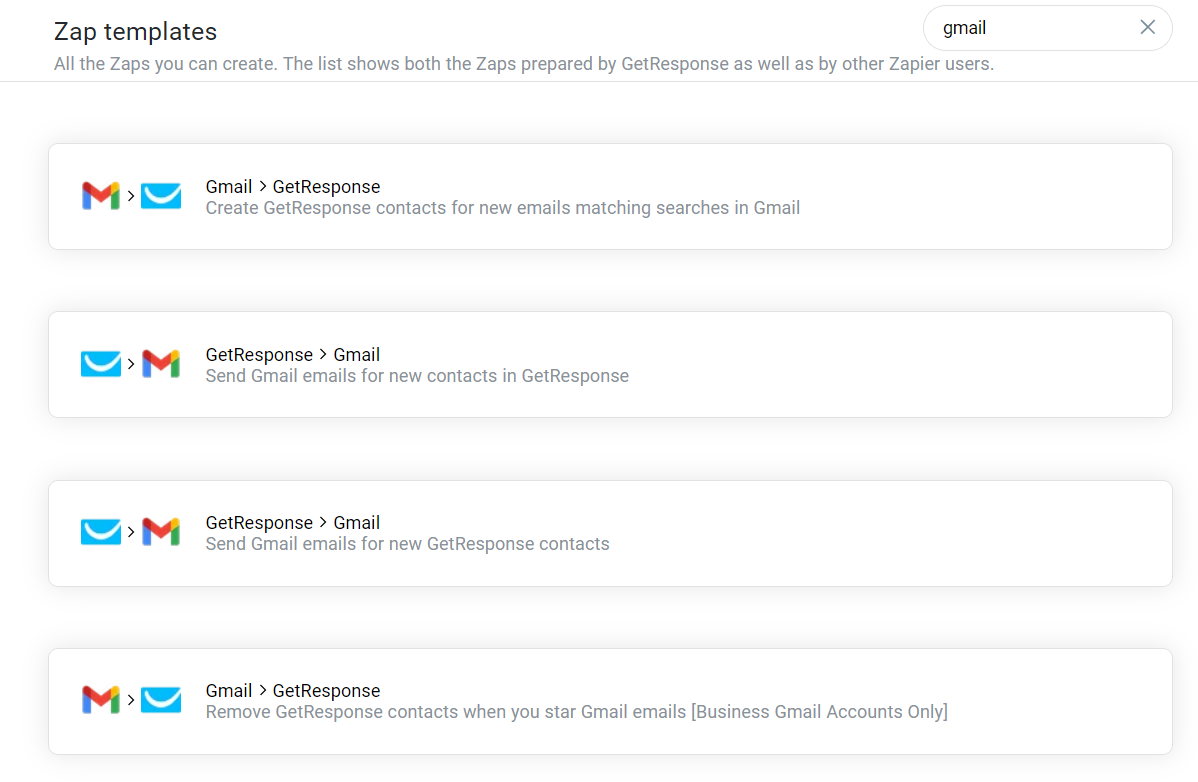
Let’s see the first example. Here I am showing how to connect Gmail with GetResponse. Given below is the Zap template list of Gmail and GetResponse. There are templates like “Create GetResponse contacts for new emails matching searches in Gmail”, “Send Gmail emails for new contacts in GetResponse”, “Send Gmail emails for new GetResponse contacts”, etc.
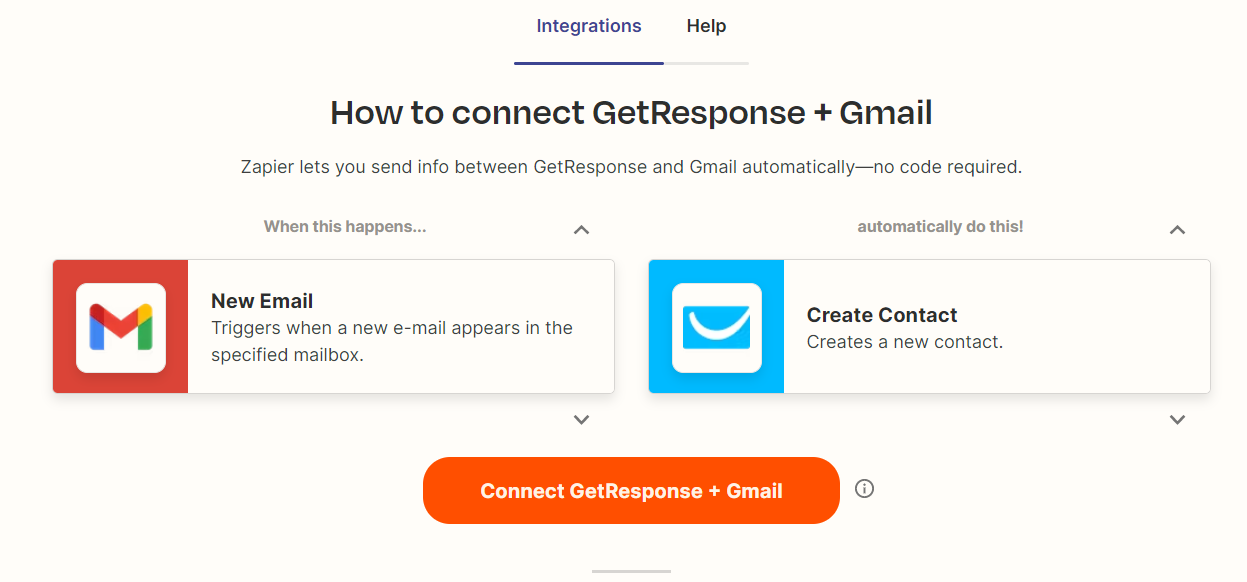
Here I am selecting the trigger “when a new e-mail appears in the specified mailbox” and then creating a new contact in GetResponse.
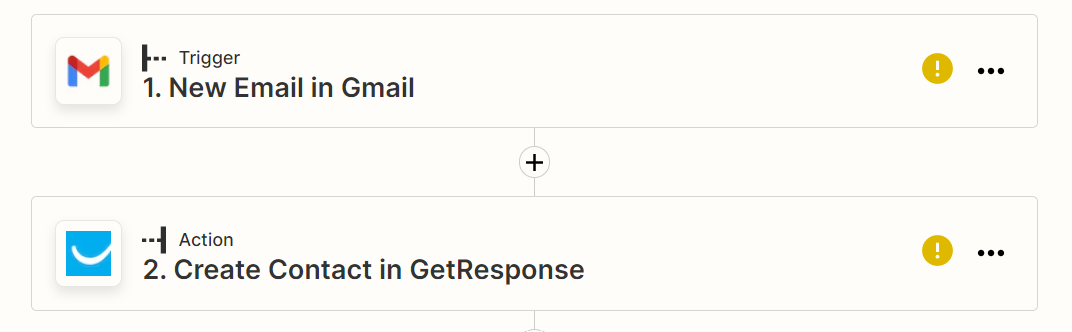
Given below is the base workflow of Gmail and GetResponse. Let’s see the in-depth review of how to connect Gmail with GetResponse through Zapier.
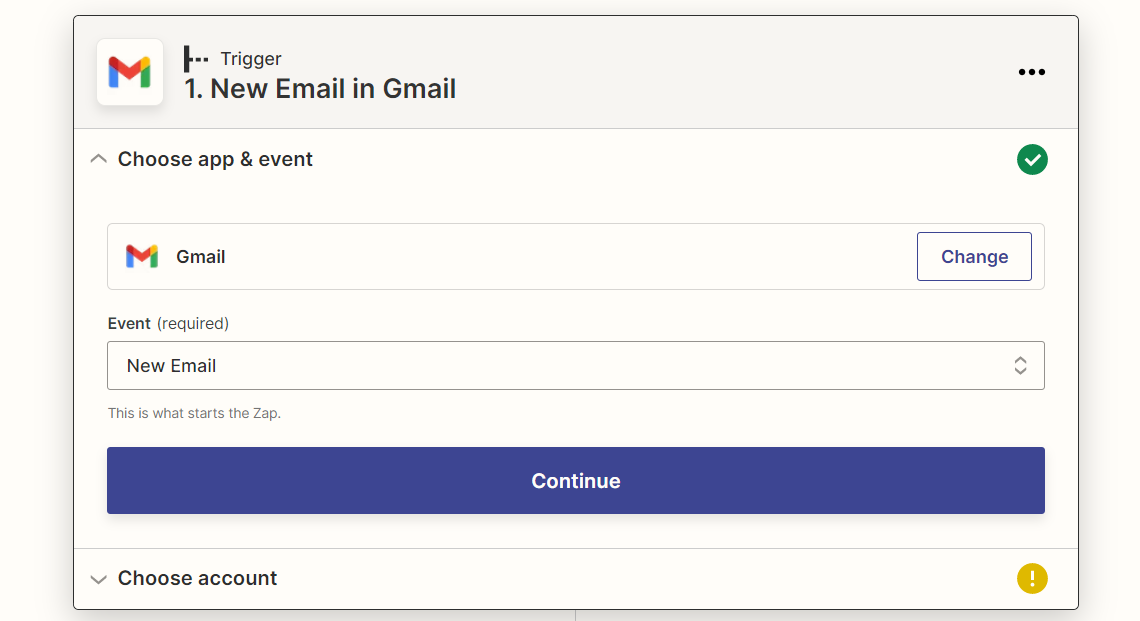
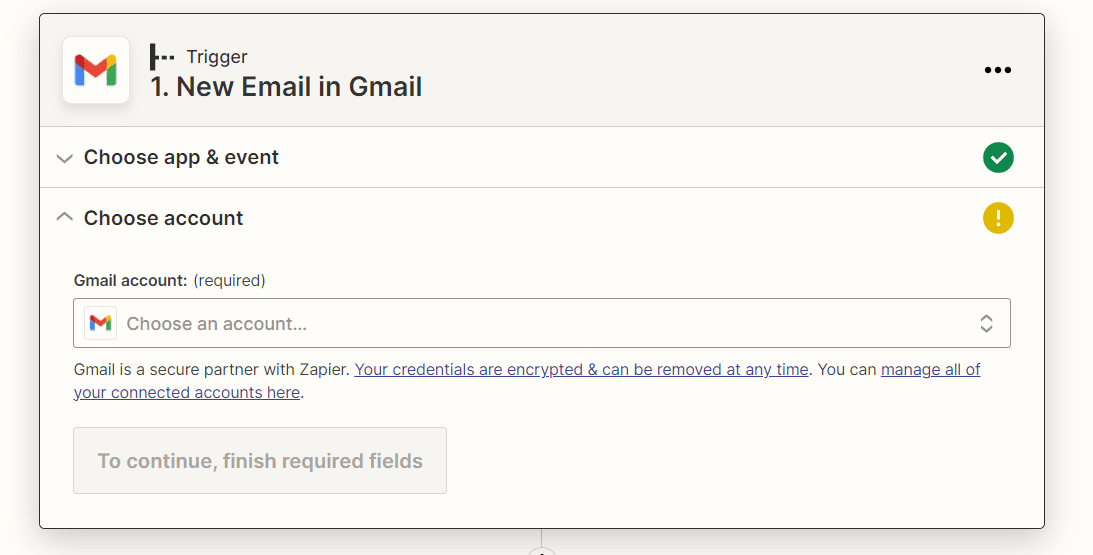
The first step is setting up the Gmail settings like choosing app & event, Choosing account, setting up the trigger, and testing the trigger. Here we choose Gmail as the app. If we change our minds and want to change the app, then we can change it from there.
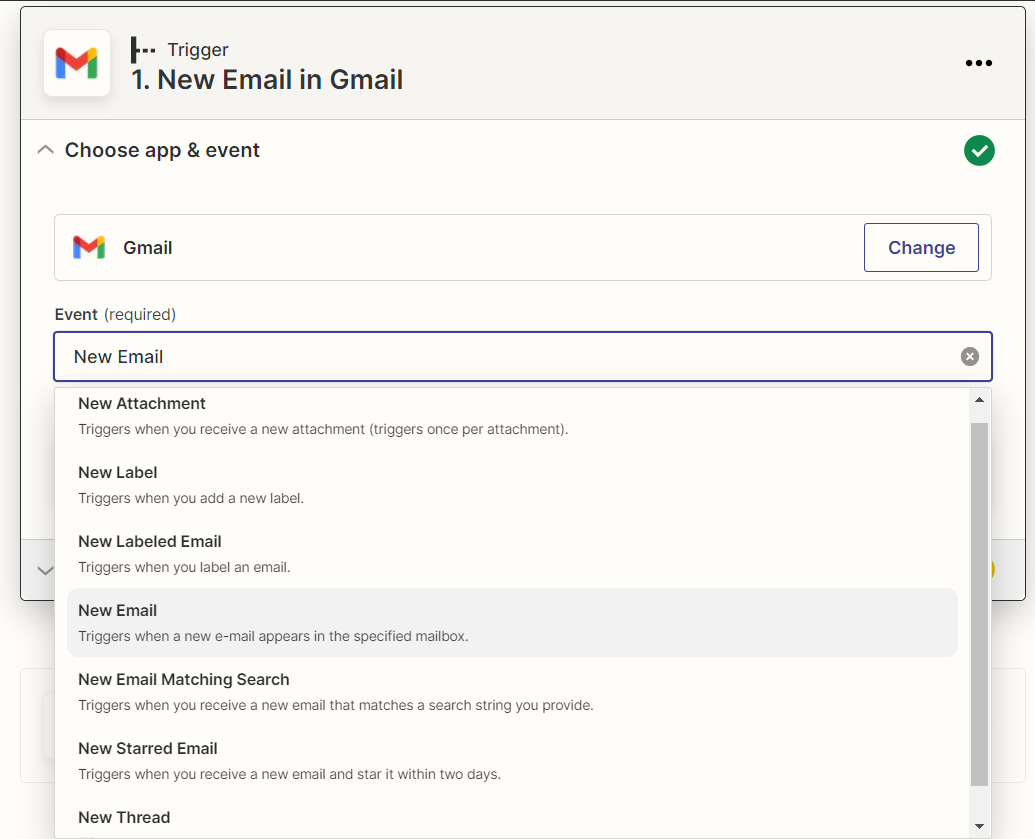
After selecting your Gmail account, then you have to choose the event. You will get a list of events like New attachment, New Label, New Labeled Email, New Email, New Email Marching search, etc. Here I selected New Email. That means, “Trigger when a new email appears in the specified mailbox”.
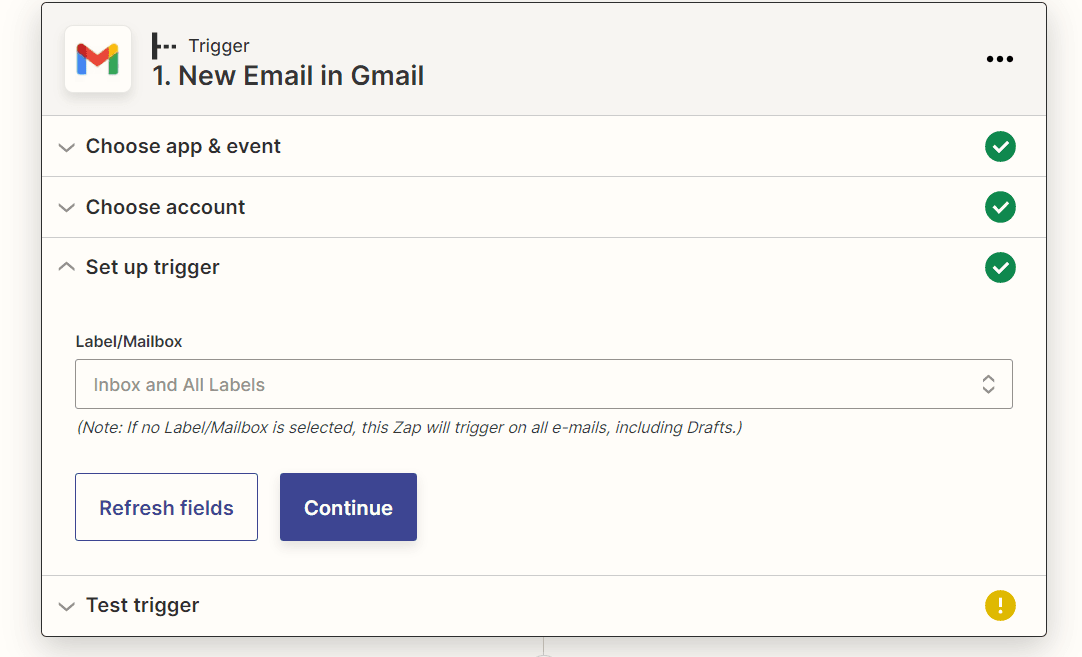
Now you can choose the Gmail account. Then you have to allow access to your Gmail account. The next step is to set up the trigger. That means you have to select the specified mailbox mentioned earlier. That is whether it is Chat, inbox, spam folder, sent folder, etc. Here I selected Starred message folder. Whenever I starred an email, that email id will send to the GetResponse email list.
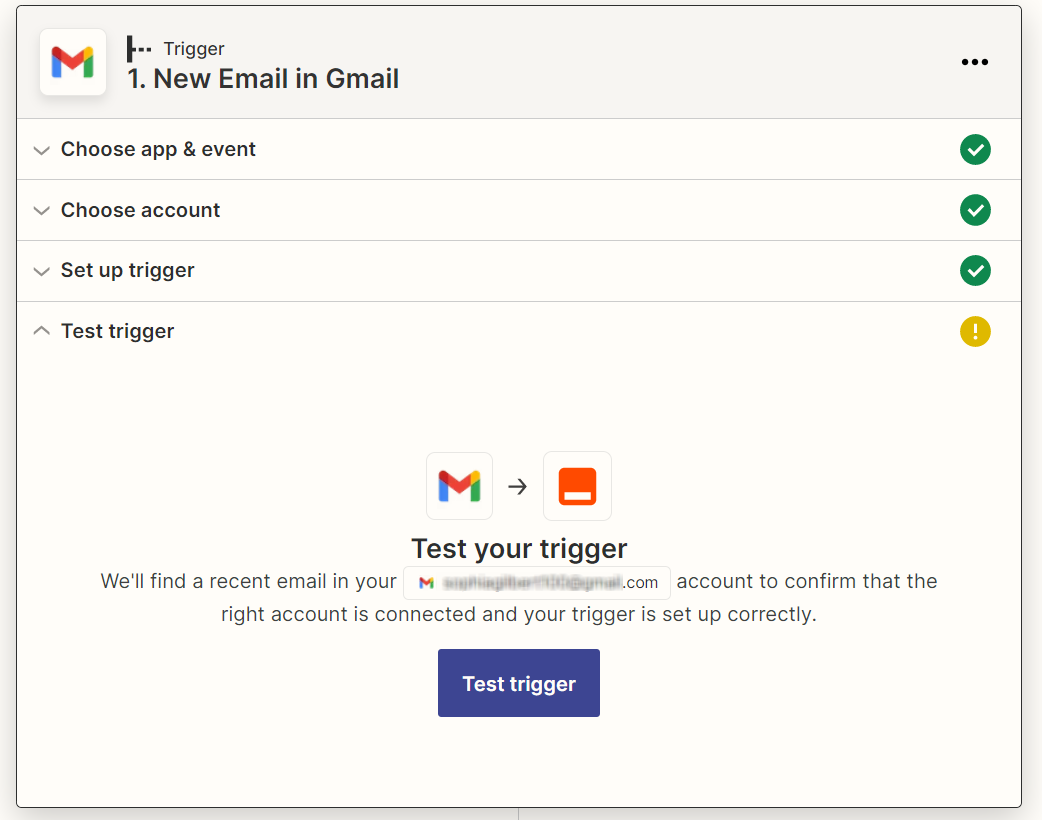
Then the next step is testing the trigger. Zapier will find all the starred emails from the Gmail account that you linked to confirm that you connected the right account and your trigger is set up correctly. If you choose inbox, then it will show the list of recent emails in your inbox.
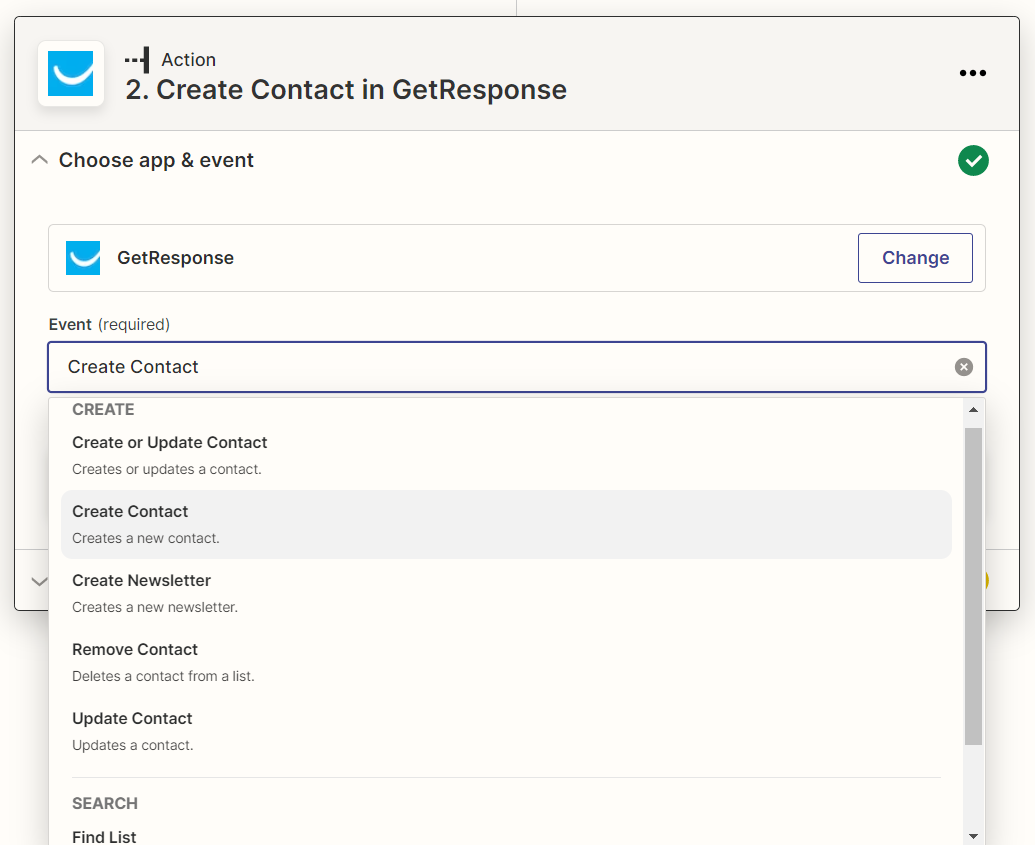
After you set up Gmail, the next step is you have to set up the GetResponse. For that, first, you have to choose the event. There so many event lists are available in GetResponse. They include Create or Update Contact, Create Contact, Create Newsletter, Remove Contact, Find list, etc.
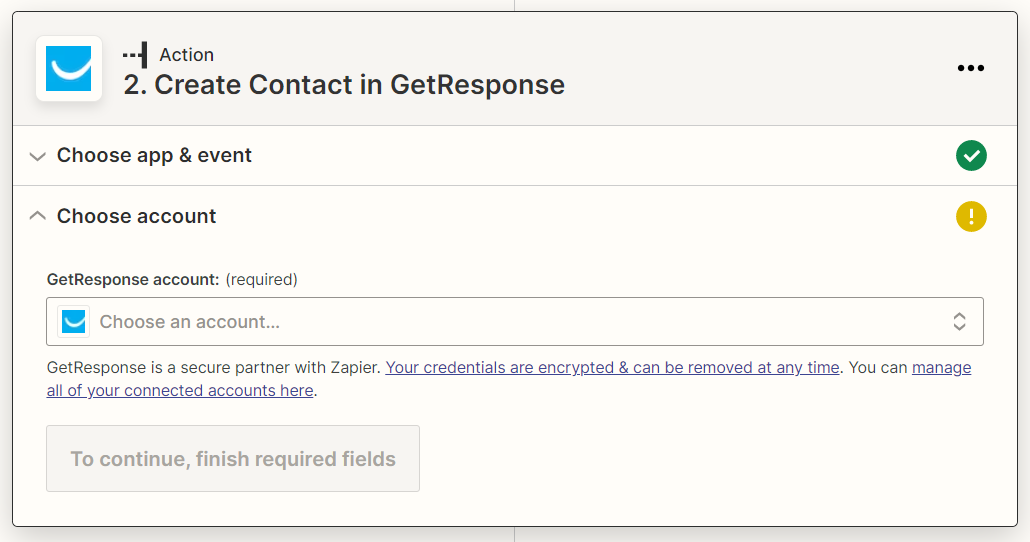
The next step is you have connected to your GetResponse account. If you have more than one GetResponse account, then it will appear as a list. From there, you have to choose the correct account.
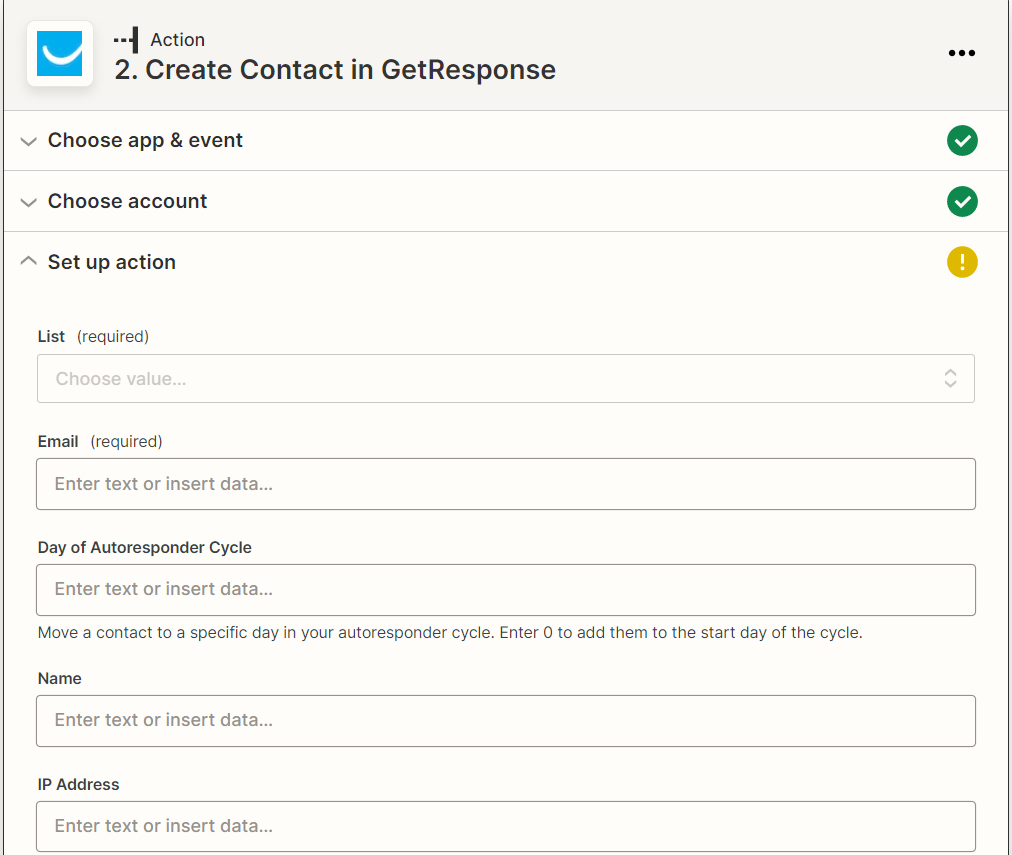
After choosing your account, the next step is to Set up action. You have to select the GetResponse List to where you have to add the emails. Then, you have to select the email address from that Email section, These two fields are required fields. There are also other fields like Day of Autoresponder Cycle, Name IP Address, etc.
After setting up the action, you have to test the action. You have to test whether all the fields you have given are correct or not. If there is any error, it will show what the error is. Then you have to check the setup action and whether you gave the correct information or not. After troubleshooting the error, it will show what the problem is and the solution to solve the problem.
You can also skip the test. But I recommend testing the action because you will know if there is any problem or not. If there is no problem, the next step is you have to publish the Workflow.
#Example 2
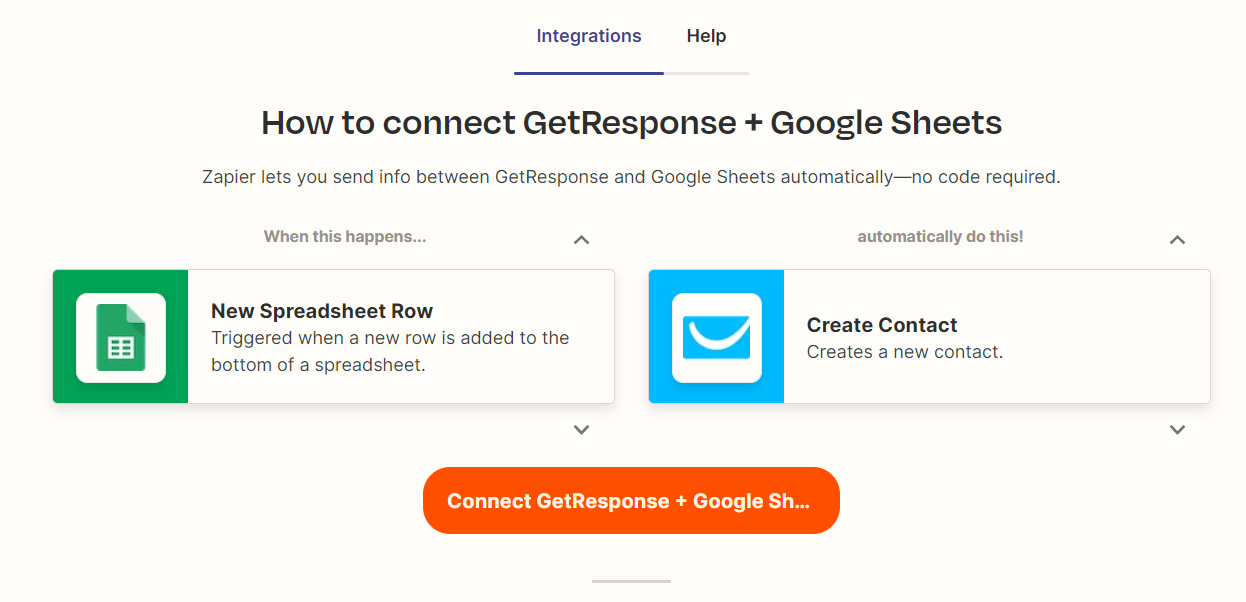
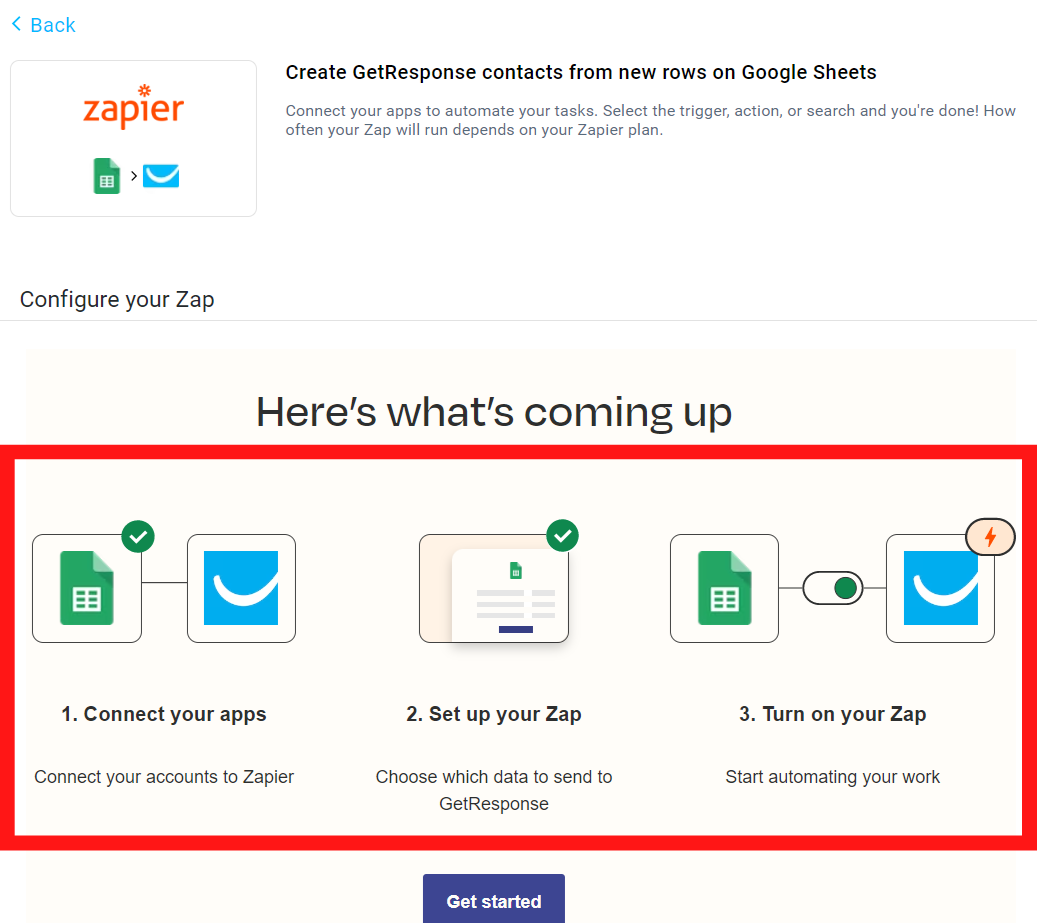
Let’s see another example. Here I am showing how to connect Google Sheet with GetResponse through Zapier integration. There are so many triggers available. I took the trigger, “When a new row is added to the bottom of a spreadsheet, then creates a new contact in GetResponse”.
They will show the steps that are going to happen. First, we have to connect the apps to Zapier (Google sheet and GetResponse). Then you have to set up the Zapier. Then you can start automating your workflow. How simple is this? Let’s see the step-by-step procedure of connecting Google Sheets with GetResponse.
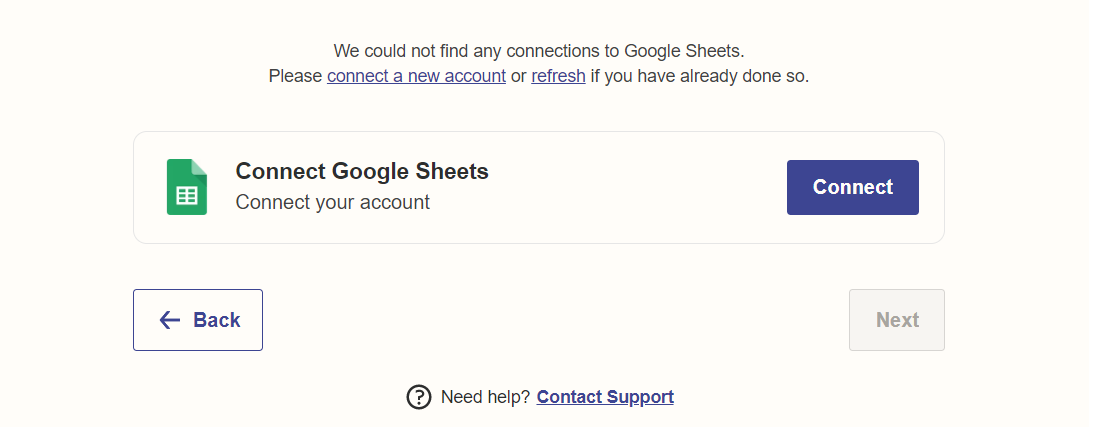
The first step is, you have to connect your Google Sheets account. After clicking Continue, Zapier will ask permission to access the Google google account. Click Allow. Then there will appear your Google Sheets. You have to click Next.
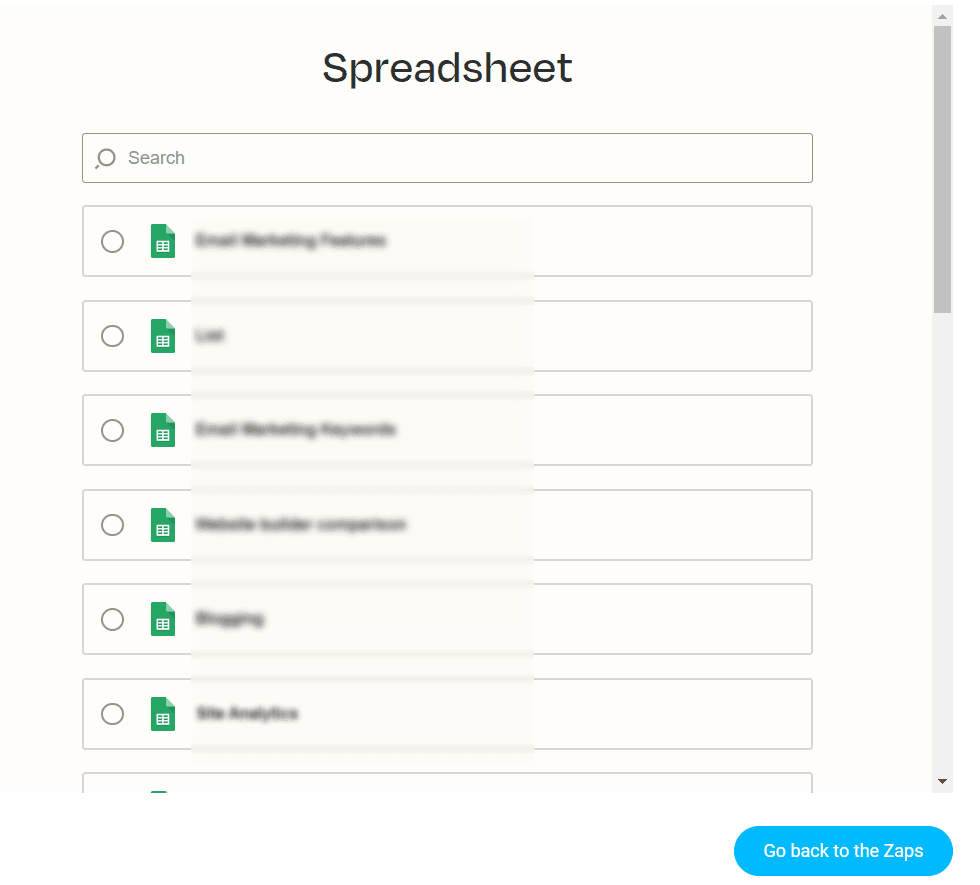
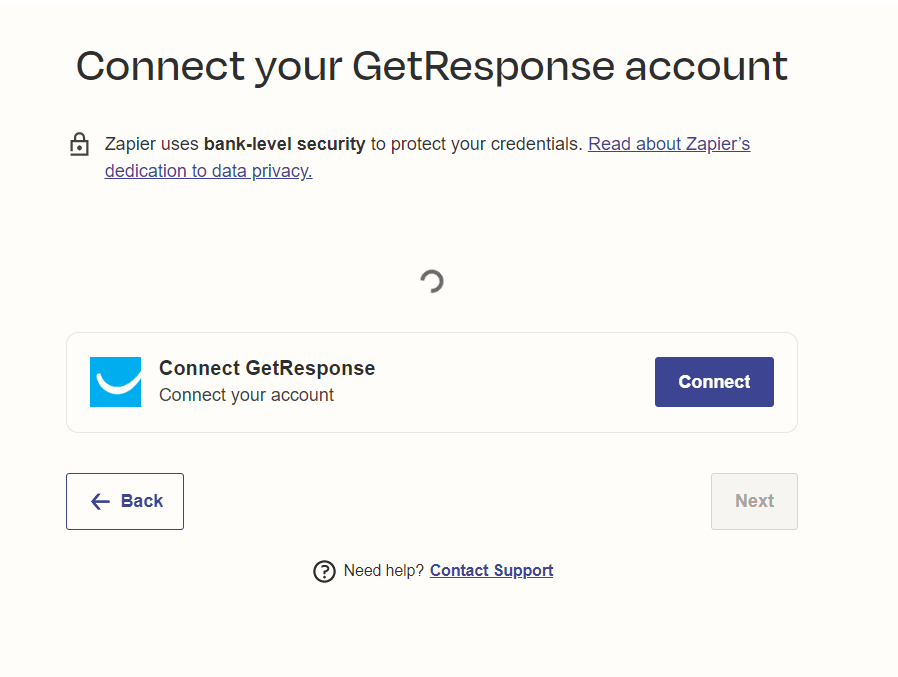
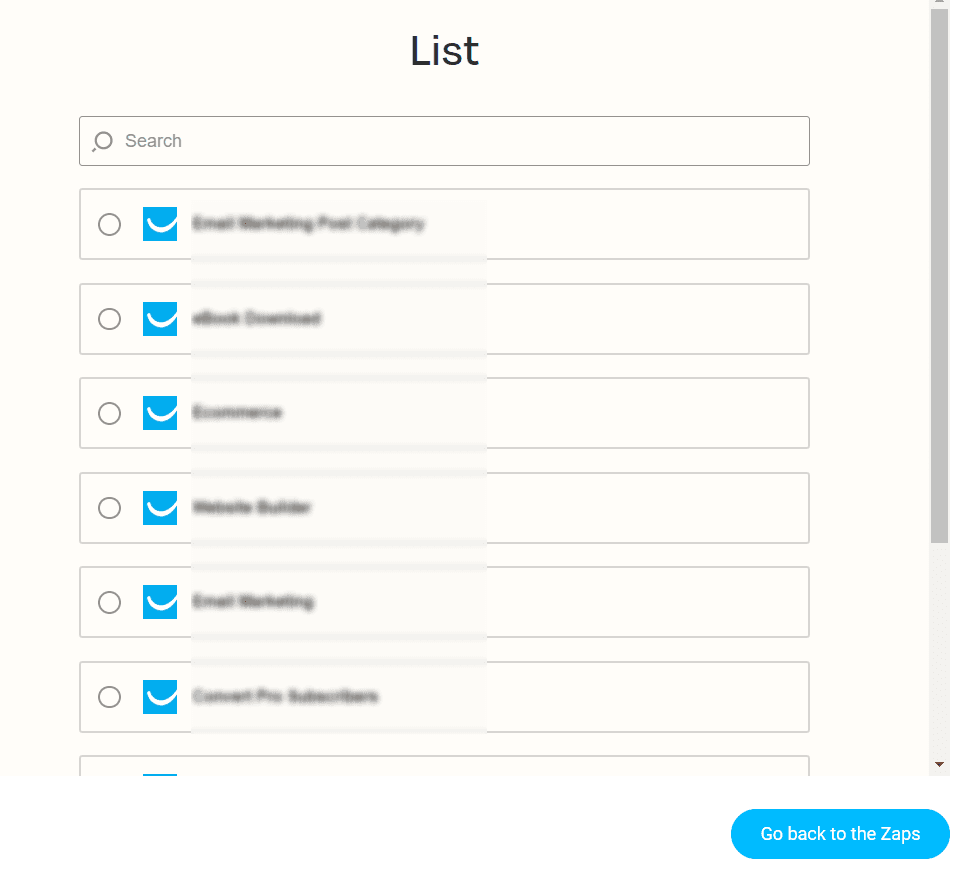
Then you can see all the Sheets that you created. You have to select the sheet that you want to connect with GetResponse. Then click next. The next step is to connect your GetResponse account.
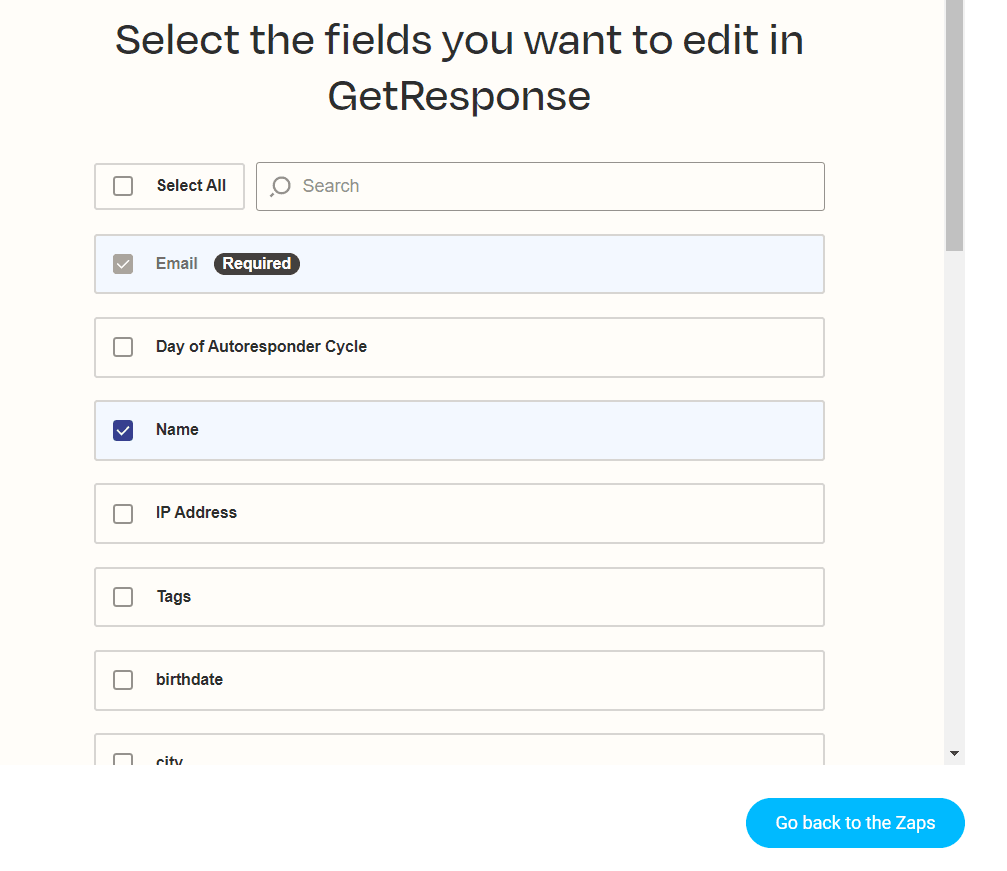
Then there will appear your GetResponse contact lists. From there, you have to select the list that you want to add to the google sheet list. Then you have to select the fields in GetResponse that you want to edit. Here, the Email and name are the lists that I selected.
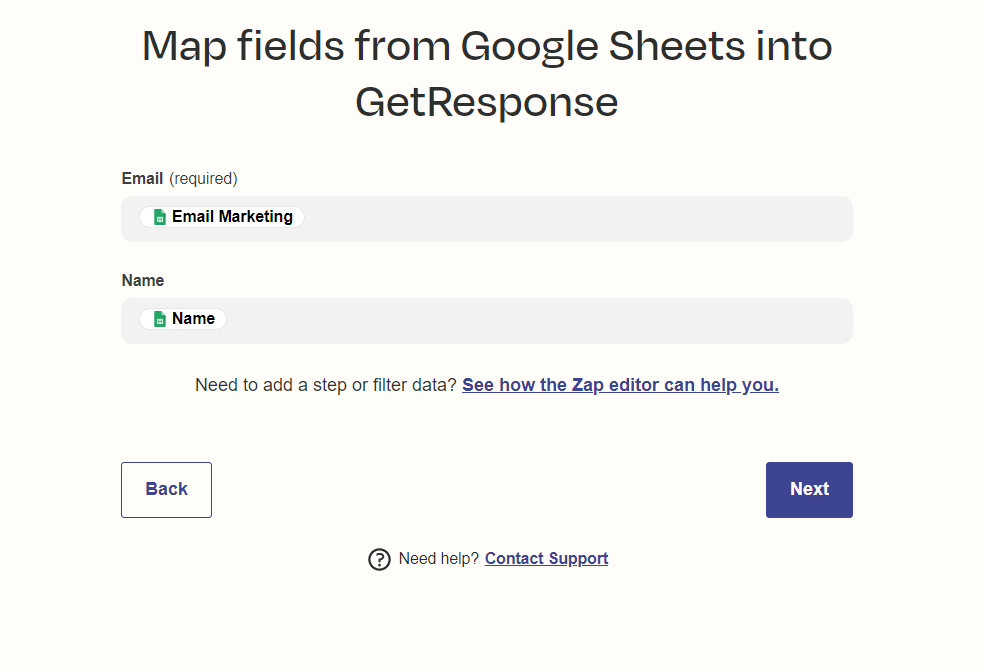
The next step is an important step. You have to map fields from Google Sheets into GetResponse. You will get a drop-down menu to select from. From there you can select the fields that you want. Then click next.
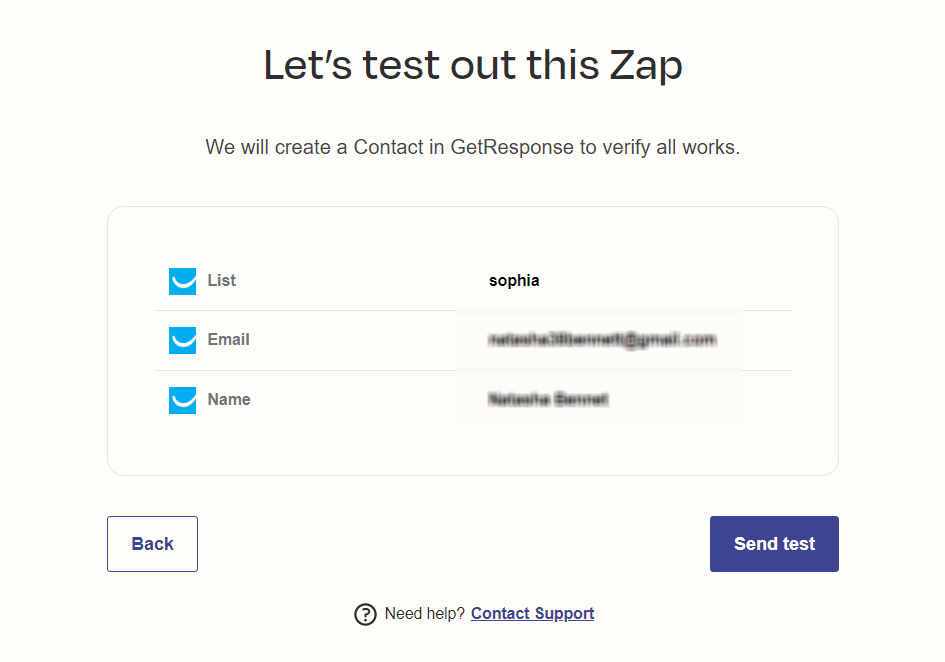
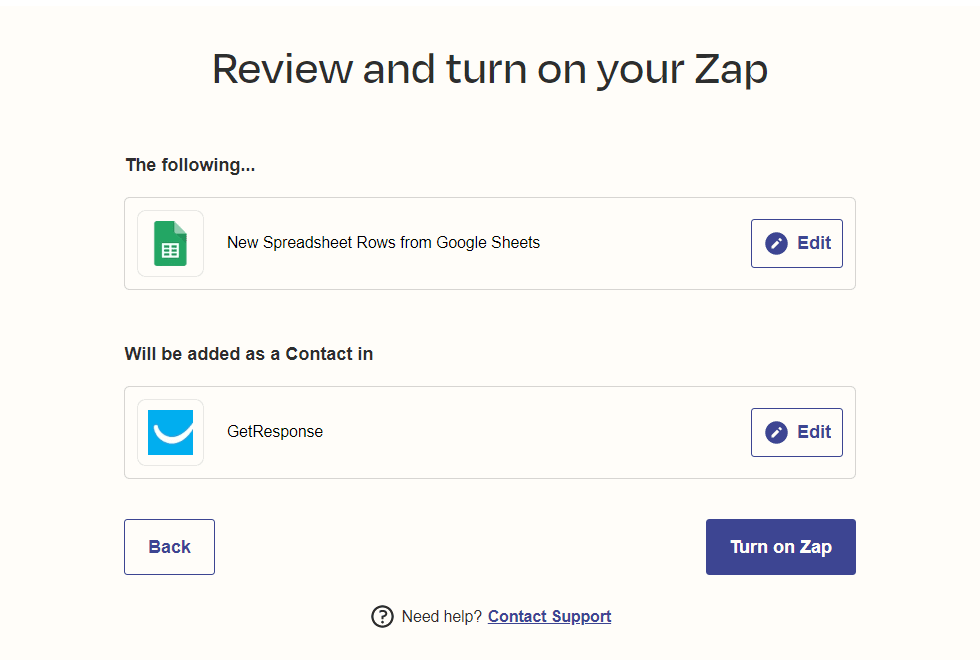
The next step is Zapier will create a Contact in GetResponse to verify all works. They will show the email and name and the list they are going to add. The last step is to review the workflow that Zap. If there is any edit there like choosing a different list in GetResponse or selecting a different Google sheet, you do can do it from there itself. Your workflow is ready and functional. If a new spreadsheet row is added to the Google sheet, then it will automatically add to the GetResponse contact list.
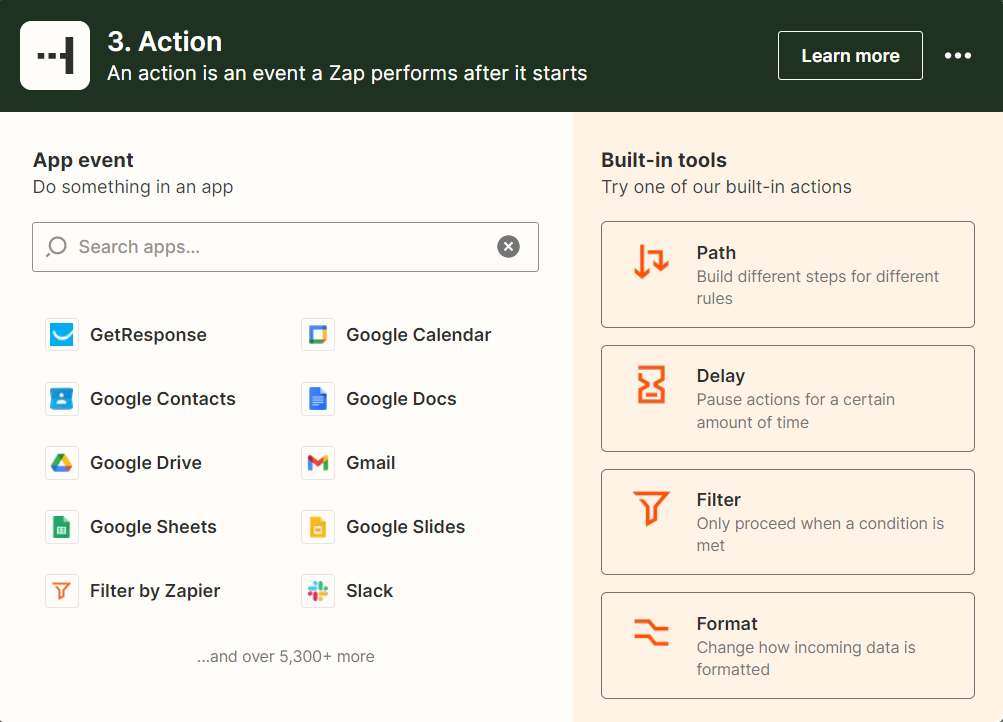
You can also connect this workflow to a third app also. You can select any app that you want like Google Calendar, Google Contacts, Google Docs, Google drive, etc. You can also add built-in tools like delay, path, filter, etc. for your workflow. After you select the app, you can select the events. If I selected Google contact, then the events will be “add to contact group, create contact, Update contact, etc.” In the free version, you can connect up to 5 Zaps. In higher plans, you can connect up to unlimited Zaps.
Like these, you can connect 5000+ apps with GetResponse very easily and create a workflow based on your requirements.
Case Studies
#How Automation Speeds Up Shipping for TinySuperheroes
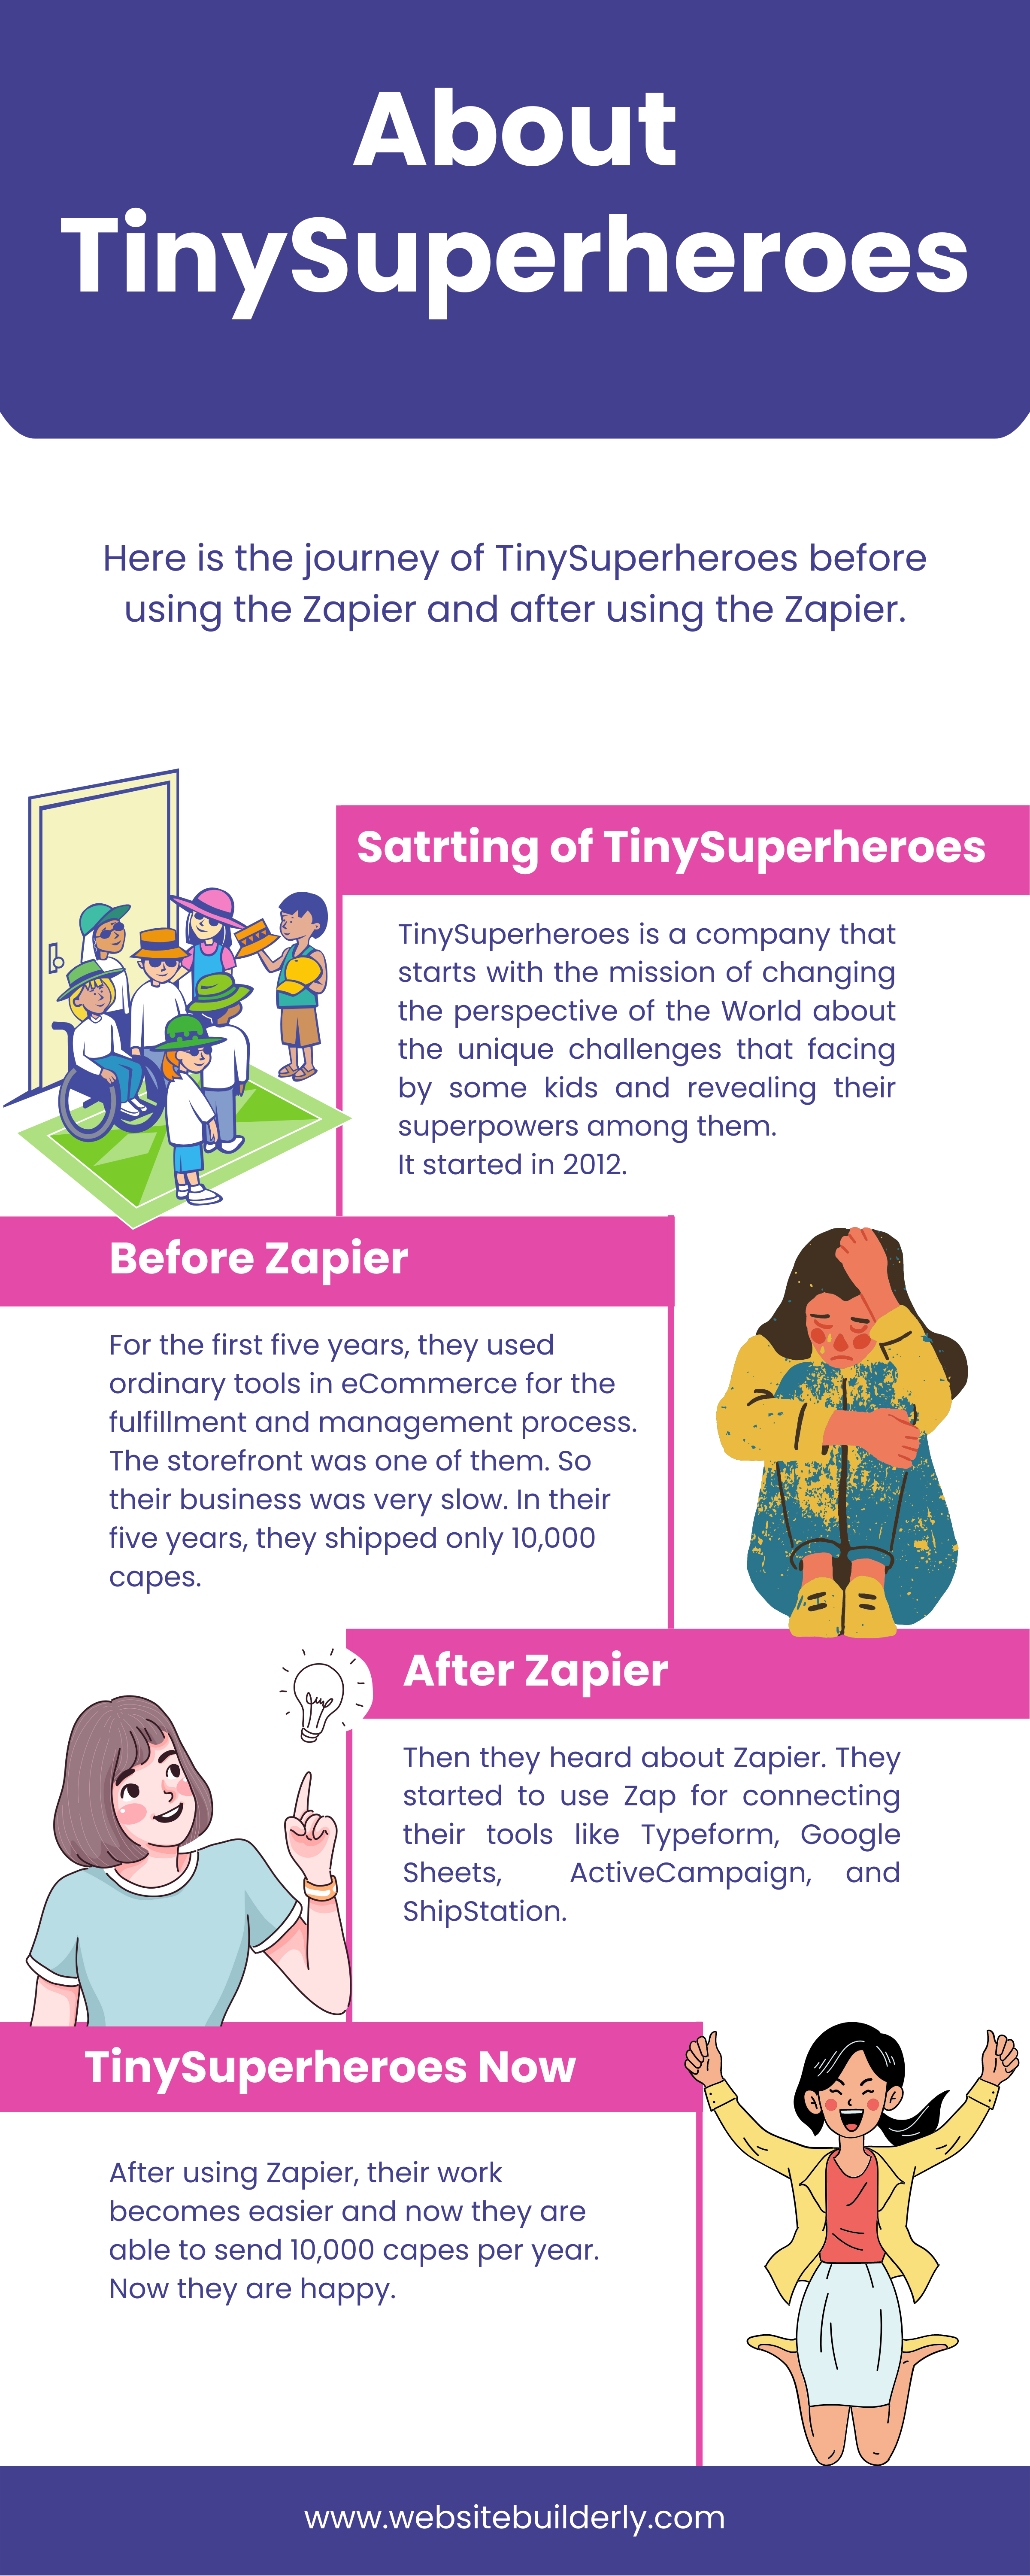
TinySuperheroes is a venture that started with the mission of changing the perspective of the World’s minds toward differently-abled kids and finding the superpowers in them. It started in 2012. But at that time, they were using so many tools like the storefront, Google sheet, Marketing tools, etc. for different processes like order fulfillment and management, inventory, marketing automation, database management, etc. Even though the process was complicated.
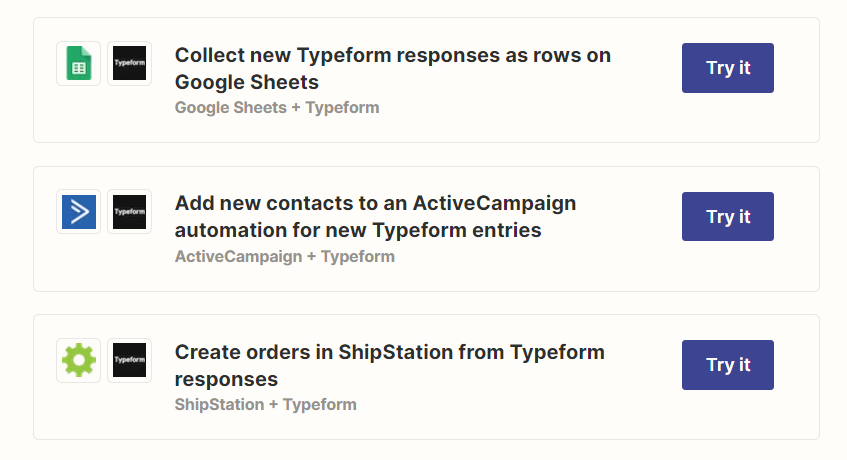
Then they started using Zapier. They started to automate their work using different tools. They are using four different apps like form creator Typeform Google Sheets, contact manager ActiveCampaign, and eCommerce platform ShipStation. Using Zap they connected these four apps. Given below are the parts of the Workflow they created.
Here they collected the Typeform responses using Google sheets. It will add the new contact to ActiveCampaign automation whenever a new Typeform enters. Then you can create orders in ShipStation from the Google sheet responses. This is how TinySuperheroes used Zap.
Before they were using Zapier, they could only ship 10,000 capes over 5 years. But, after the use of Zap, they could ship 10,000 capes in one year only. Great!
#How a Solopreneur Built Her Business’s Back End on Automation
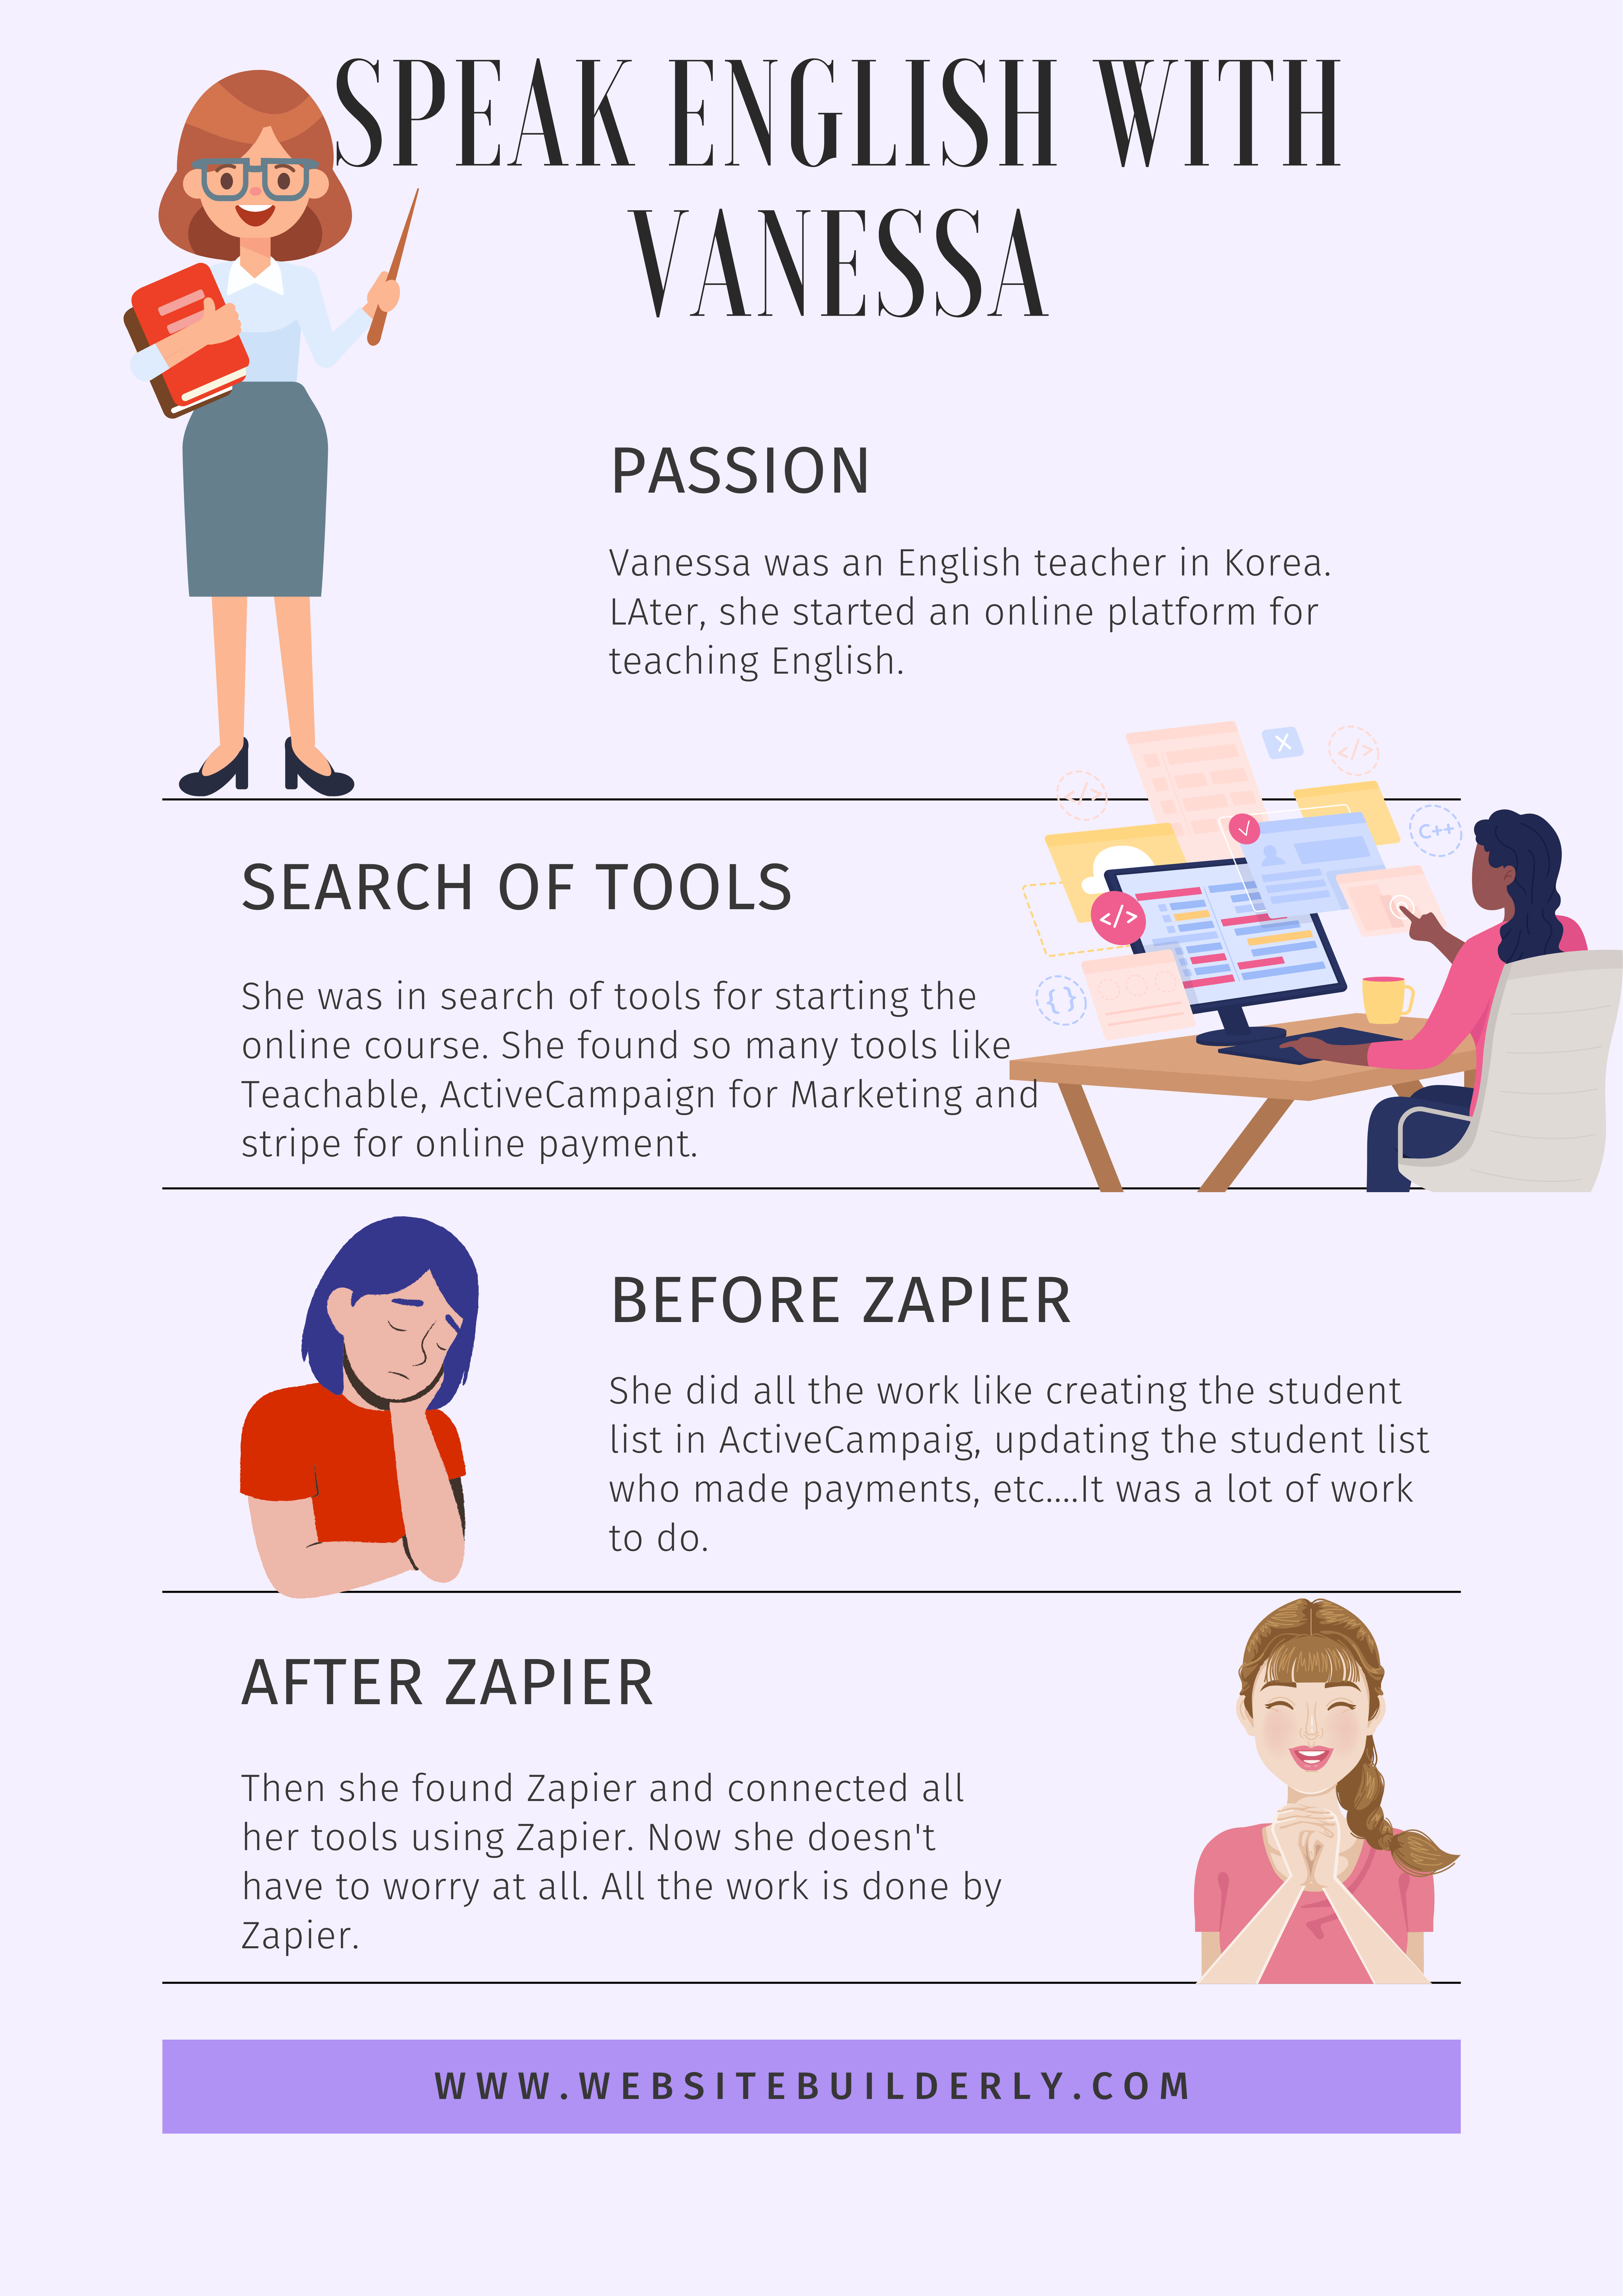
Our next case study is Speak English with Vanessa. Vanessa was an English teacher in Korea. After she started an online teaching business. She searched for a lot of tools that help to launch an online business. At last, she found Zapier and she created a backend that works on Zap.
Vanessa wanted to reach so many people through the online business. So she did so many things like creating a Facebook page, giving free courses and resources, starting YouTube Channel, etc. She used Zap to connect different apps for her business. She was using 3 tools Teachable, ActiveCampiagn, and Stripe.
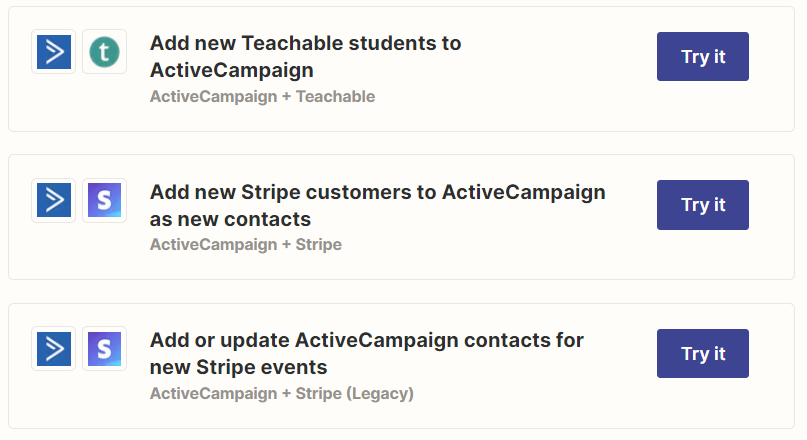
She used teachable as the online platform for teaching, ActiveCampaign for marketing automation, and stripe for Payment activity. The students need to signup for Teachable to join the course. Free and paid courses are available. Whenever a student creates an account in Teachable, they will be added to the ActiveCampaign using Zap. In the Activecampaign, Zapier will create tags for the students who created accounts in Teachable. So, the students will be added to a specific list.
Likewise, whenever a student makes the payment for the course through stripe, Zapier will create or Updates the contacts in ActiveCampaign with the purchase information. If you do it manually, then it will be a big task and a time-consuming process. Using Zapier, made the job easier. The workflow is given below.
Zapier is the best intermediate platform for connecting different apps. There are 5000+ apps available in Zapier. It is called Zaps. You can easily connect all these apps effortlessly and create the workflow. It will make your work a lot easier.
Sophia Gilbert is an Email Marketing Specialist and Web Application Expert with 10+ years of experience. She meticulously tested and used most of the email marketing tools & website builders in the real field. Here she is sharing reviews and comparisons of different email marketing tools based on her past experience through different companies where she has worked.


")


")


Thanks for sharing very helpful information.